
In the world of string art, the choice of materials and stringing techniques are crucial to creating stunning works of art. Today, I want to share some insights and techniques I've learned during the stringing process to help you advance in this creative craft.
Experimenting with Different Textures of String
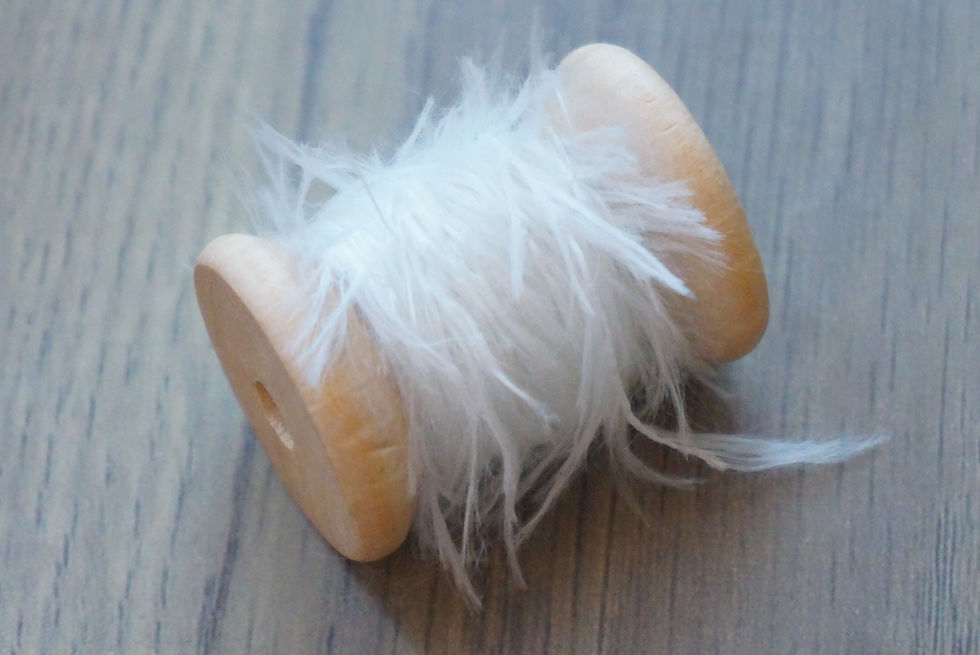
Choosing the right string is the first step in string art and a key factor in determining the texture and style of your piece. Different string materials can produce vastly different visual effects. For instance, fine threads are excellent for intricate designs, while thicker cotton strings can create bold lines and striking contrasts. I personally prefer using lace and embroidery threads because they are both durable and richly colored, allowing the design's essence to shine through. However, depending on your design needs, you might also experiment with twine, yarn, or ribbons to add unique visual and tactile elements to your work.
Careful Planning of String Paths
Before you start stringing, carefully planning your path can make your design more precise and increase efficiency. I usually sketch the general path on paper with a pencil so that I can proceed methodically when executing the design. It's also essential to accurately position the nails; a precise layout ensures that every detail of your piece is beautifully rendered.
Maintaining Even Tension for a Polished Look
When stringing, maintaining even tension is crucial. The string should be pulled tight enough, but not too loose or too taut. Loose strings can sag, while overly tight strings might shift the nails, affecting the design. You can gently pull each segment of the string with your fingers and maintain consistent pressure as you wrap it around the nails, ensuring a tidy and aesthetically pleasing result.
Securing the String to Maintain Structural Integrity
During the creation process, regularly wrapping the string around the nails, especially at turns and intersections, can prevent it from slipping or loosening. This practice ensures that your work maintains its original shape and structural integrity throughout the process.

Exploring Different Stringing Techniques
Experimenting with and applying various stringing techniques can add depth and visual balance to your artwork. Whether it’s parallel lines, cross patterns, figure-eight loops, or interlocking rings, each technique can give your piece a unique three-dimensional effect. I particularly enjoy using cross patterns to create intricate textures that add depth and complexity to the work. Don’t be afraid to try different stringing methods—you might discover new ways to enhance the beauty of your art.
Mastering Color Gradients
Using color gradients is a great way to enhance the visual appeal of your work. When switching colors, it’s important to hide the transition points subtly to create a seamless effect. I usually make the color changes behind other strings or along the edges of the design, making the transitions smoother. Choosing similar tones for gradients can create a soft and harmonious visual effect, making your piece more attractive.
Finishing Touches
Once the stringing is complete, take the time to trim any excess strings and carefully check every detail. By trimming unnecessary ends, you can make your piece look more professional and polished.

I hope these tips and insights will help you create more outstanding pieces. I also recommend visiting the String Art Laboratory online shop to select the perfect materials for your personal string art projects.
留言